I tasted my first Matcha Kit Kats years ago, a friend had brought them back from her honeymoon in Japan. The wafer cookies covered in milk or dark chocolate in the East have different variations, one of them is with Matcha green tea.
I then found them in the stores specialized in Asian products. As chance would have it, I found myself shortly afterwards at a demonstration by chocolatier Giacomo Boidi of Giraudi, who spoke precisely about Matcha chocolate. This got me thinking: can Kit Kats be made at home?
I searched the Internet, and especially in the Anglo-Saxon world, there are many who have tried their hand at the feat of homemade Kit Kats. I put these together with the notes I had taken at the meeting with Giacomo Boidi and here is my recipe for matcha Kit Kats.
The appearance is not beautiful, partly because my lack of dexterity is well known to you, but the flavor is exceptional and very similar to the Japanese original, I can vouch for that.
My chocolate processing is also not professional, I am not an expert, but the recipe works.
Matcha Kit Kat
Ingredients for 5 to 6 cookies
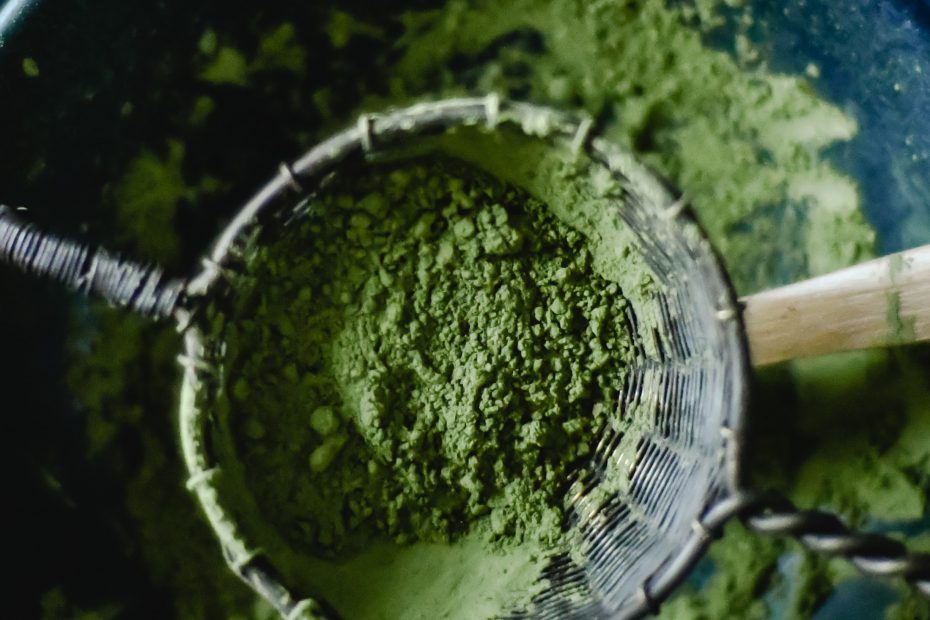
- 1 teaspoon (about 1 – 1.5 g) of culinary Matcha
- 10 – 12 milk wafers (the vanilla ones are too sweet in my opinion)
- 100 g white chocolate
Preparation: the chocolate
First, to prepare the Matcha Kit Kat we need to process the chocolate. We are used to melting it in a bain-marie, but during the presentation both chocolatier Boidi and pastry chef Elena Bosca (aka Dear Wendy) pointed out that one of chocolate’s greatest enemies is water. The best solution according to them is the microwave. So I split to pieces the chocolate in a bowl and put everything in the microwave. I ran it on low temperature, checking minute by minute. After 3 minutes the chocolate was melted.
At this point I added my Matcha powder and stirred to make the mixture as uniform as possible in both color and texture.
Preparation: the Kit Kats
On a work surface or cutting board place your wafers. I did two tests: in the first, I split the wafer in half to have a thinner cookie that was more like the original. Unfortunately, it is easy for part of the wafer to break so, in hindsight, I don’t think it is worth it. In the second test I left the cookies as is.
Spread chocolate on the surface of one wafer and place another on top so that they stick together. Proceed in the same way until you finish the cookies. Let them dry (just a few minutes will do).
After this time has passed, if you notice that your melted chocolate is less soft, heat it with the help of a hair dryer. It sounds crazy but I saw it done by both Giacomo Boidi and Elena Bosca at the presentation. I have tried the same technique at home and it is a great way to get the chocolate back to the right consistency.
Our Matcha Kit Kats are almost ready. However, here comes the most difficult part. We have to coat our cookies. You can dip them in the bowl, making sure each side is coated and then remove the excess chocolate with a spatula. You can otherwise help yourself with a teaspoon.
Once the Matcha Kit Kats are coated on all sides let them dry by placing them on a sheet of baking paper. Mine took about two hours to be ready.
After that time has passed they are ready to be served or wrapped for a cute little gift for your friends.
